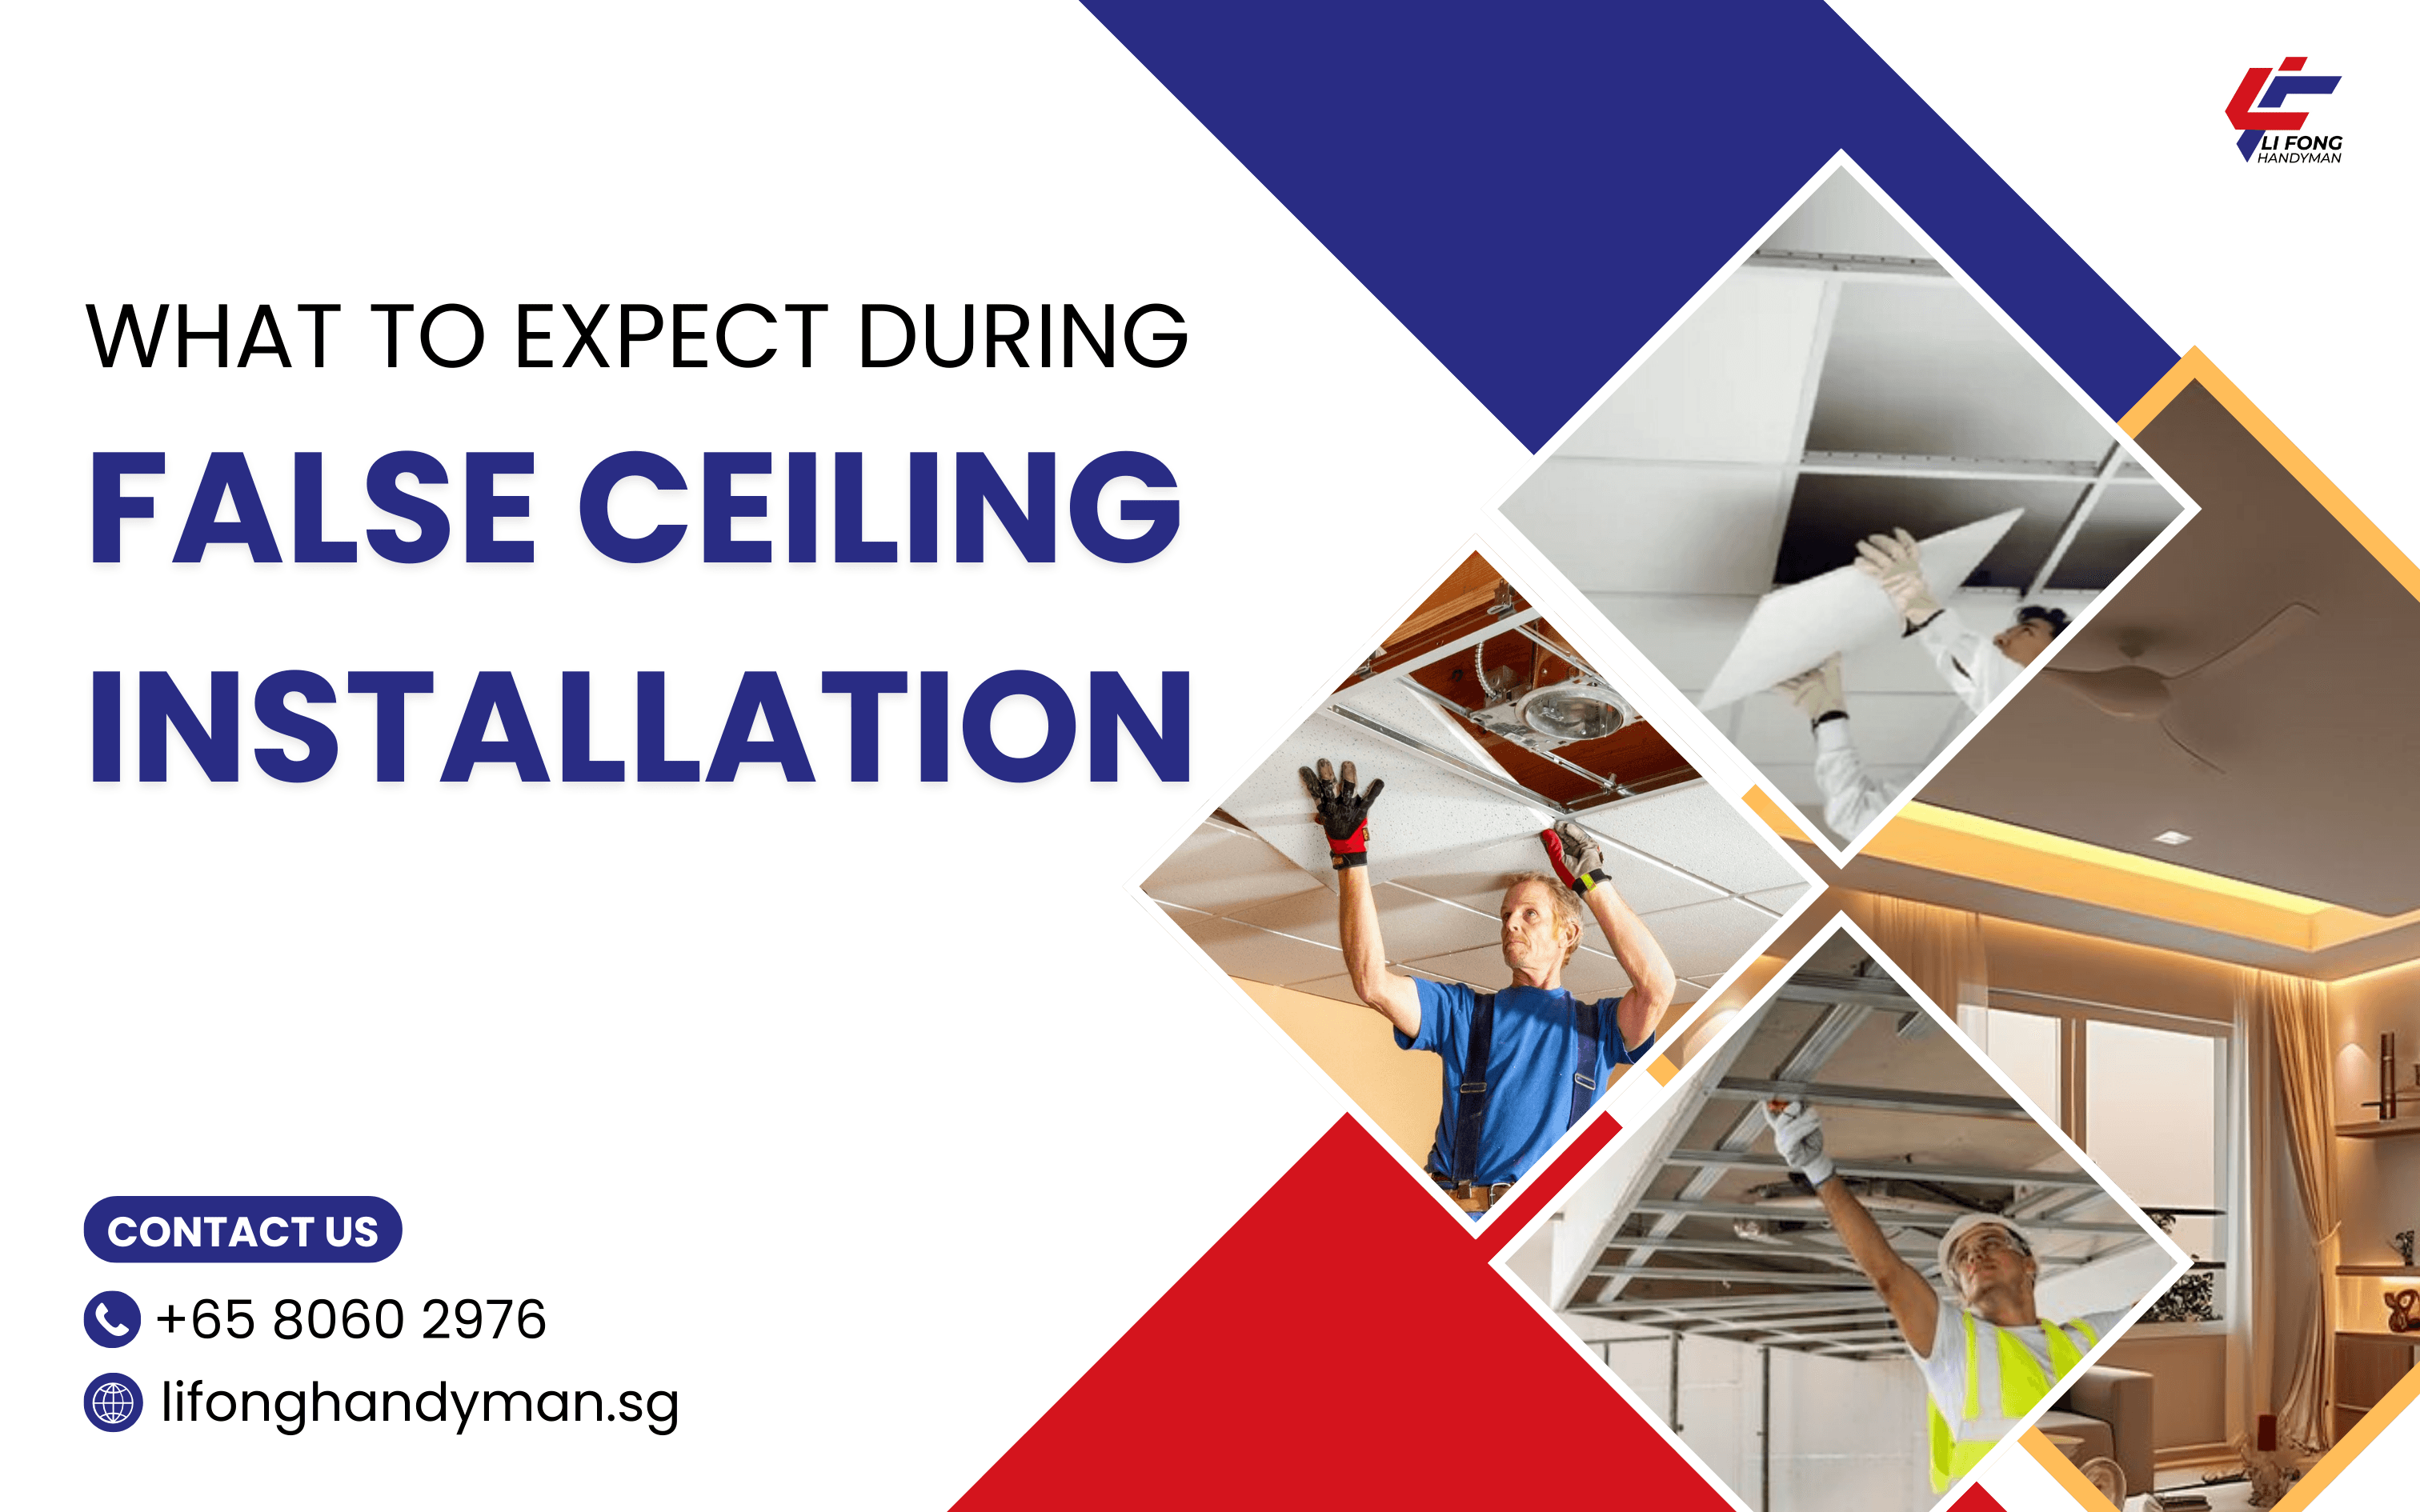
Struggling to deal with false ceilings installation process? Or maybe for the first time installing a false ceiling in your home to elevate your space with a stylish, functional ceiling?
We heard you right. Now it’s time to remove tensions and have a cup of coffee on a summer morning. Because we are here to bridge the gap.
In this guide, we’ll walk you through the entire installation process, from planning to finishing touches, so you know exactly what to expect.
What to Expect During False Ceiling Installation
Understanding the False Ceiling Installation Process
When planning a false ceiling installation, it’s important to understand the key stages involved. A successful installation is a blend of preparation, precision, and expertise. Here’s a step-by-step guide to help you navigate the process:
1. Pre-Installation Preparation
Before the installation begins, several essential preparations are made:
- Site Inspection: A thorough inspection is done to assess the ceiling structure and confirm the best approach.
- Design Plan: A detailed design plan is created based on your preferences, focusing on style, functionality, and budget.
- Material Selection: The right material is selected—gypsum, PVC, or metal—based on the room’s requirements. For example, PVC is ideal for moisture-prone areas.
- Measurements & Structural Assessment: Precise measurements and structural assessments are carried out to ensure the ceiling framework will be securely mounted.
This careful preparation helps avoid common pitfalls and ensures a smooth installation process.
2. Framework Setup
The next stage involves setting up the framework:
- Sturdy Framework: A solid metal or wooden framework is created as the base for the ceiling. This ensures stability and prevents sagging over time.
- Leveling the Surface: The framework is aligned meticulously to create a level surface for the panels. This helps achieve a clean, even ceiling.
The framework is crucial for the ceiling’s strength and longevity, ensuring a smooth installation later on.
3. Panel Installation
With the framework in place, the next step is installing the panels:
- Panel Fixing: Gypsum boards, PVC sheets, or wooden panels are carefully fixed onto the framework.
- Alignment: Each panel is aligned to ensure that it’s straight and seamless.
- Joint Treatment: The joints between the panels are treated to avoid any visible gaps or seams, ensuring a smooth, flawless finish.
This phase is key to creating a polished, professional-looking ceiling.
4. Finishing Touches
The final stage involves adding the finishing touches:
- Plastering: The joints are plastered to smooth out any rough edges and provide a seamless look.
- Painting & Treatment: The ceiling is painted or treated with a finish to give it a professional appearance.
- Decorative Elements: Features like cove lighting, molding, or LED lighting may be added to enhance the overall design.
- Final Inspection: A thorough inspection is conducted to ensure everything is installed properly and meets quality standards.
These 4 steps can turn your ceiling into a beautiful and functional centerpiece of the room.
Key Factors Affecting False Ceiling Installation

1. Material Choice
The material you choose for your false ceiling installation affects several factors:
- Cost: Different materials have different price points. For example, gypsum may be more affordable, while metal can be more expensive but highly durable.
- Durability: Gypsum provides good insulation, while PVC offers better moisture resistance.
- Aesthetics: Each material offers unique looks, with gypsum being smooth and elegant and PVC more modern and water-resistant.
Make sure to choose a material that fits your space and needs.
2. Design Complexity
- Intricate Designs: If you opt for complex patterns or multi-layered ceilings, expect more time and higher costs.
- Simple Designs: Straightforward designs are faster to install and typically less expensive.
Consider how intricate you want your ceiling design to be to manage your time and budget accordingly.
3. Labor Charges
- Skilled Labor: Hiring skilled professionals ensures the installation is done correctly and efficiently.
- Contractor Expertise: Experienced contractors may charge higher fees but guarantee a high-quality result.
- Project Duration: Skilled laborers can complete the installation in a shorter time, which can reduce overall costs.
It’s important to weigh the experience of your installer against the project’s complexity.
4. Additional Features
- Recessed Lighting: Adding recessed lighting or LED strips will require additional installation time.
- Acoustic Enhancements: If you choose acoustic ceiling installation, this may involve extra steps and materials.
- Budget: Ensure that additional features are factored into your overall budget to avoid surprises.
Incorporating features like lighting or acoustic treatments can significantly enhance your ceiling’s functionality.
Common Challenges & How to Overcome Them
1. Moisture Issues
- Proper Sealing
- Moisture Control
2. Structural Considerations
- Ceiling Integrity
- Structural Assessment
3. Budget Management
- Cost-Effective Materials
- Design Simplicity
- Incorporate Features Gradually
With careful planning, you can achieve the perfect false ceiling that fits both your style and budget.
Conclusion
In Singapore, where homes are all about balancing comfort and style, a false ceiling installation is the perfect way to elevate your space. So it’s really important to know what to expect during the installation process before it gets too late.
Reach out now for a hassle-free false ceiling upgrade, and make your space truly shine!
FAQs
- How are false ceilings installed?
By fixing panels such as gypsum boards/ PVC sheets to a metal/ wooden framework that is securely mounted on the existing ceiling. - What are the requirements for a false ceiling?
Proper measurements, material selection, and an experienced installer are crucial for a successful installation. - How is a false ceiling done step by step?
Inspection, framework setup, panel installation, and finishing touches like painting and adding decorative elements. - What do you need to do before a false ceiling?
Ensure your ceiling structure is properly assessed, and the design and materials are finalized. - How long does it take to complete a false ceiling?
Generally, it takes 2-5 days, depending on the complexity of the design and the materials used


